My Configs for a Fancy-Looking Terminal (starship, exa, fonts)
My starship and exa configs for a fancy command prompt in bash and pwsh (PowerShell). How to beautify the terminal with nerd fonts and a nice background. Making it work in Windows Terminal. Within an SSH session, under both root and non-root users.
 Alexandr Fadeev
Safe Skies is an innovative sensor system for detecting air targets
My terminal environment is usually customized as follows:
- starship for a nice command-line prompt,
- exa for a nice directory listing instead of original
ls, - nerdfonts for beautiful glyphs in the terminal application,
- Windows Terminal, as a terminal application for setting up all the beauty.
bash is the main shell I usually work in.
👉 All instructions below work in a Linux environment including SSH sessions.
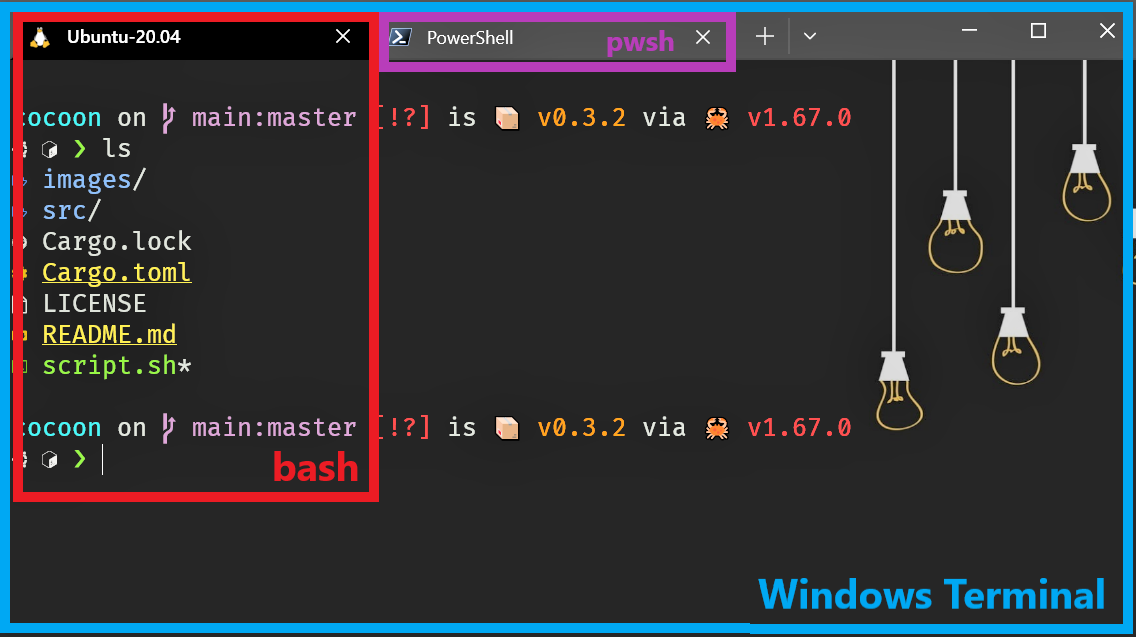
Terminal emulator allows rendering custom fonts and backgrounds (like those little cartoonish bulbs 💡). I use Windows Terminal as a terminal application (terminal emulator) in Windows for simultaneous access to different terminal environments and shells in different tabs, I mainly use two environments:
- Ubuntu in Windows Subsystem for Linux (WSL2) with
bashshell. - Windows environment enabled with
pwsh(PowerShell).
There are plenty of terminal emulators in different Linux distros, e.g. GNOME Terminal on Ubuntu, they can be configured to render different fonts and backgrounds.
💡 Just remember:
- backgrounds and the fancy fonts 🎨 are in the terminal settings (GNOME, Windows Terminal)
- while the command prompt (🚀 starship) is in the shell configuration (bash, fish, pwsh).
🚀 Starship
Starship is used for a nice-looking command prompt.
How to Install
The following steps work in any Linux, you can even quickly beautify your SSH session on the remote host!
sudo apt install gcc cmake

curl --proto '=https' --tlsv1.2 -sSf https://sh.rustup.rs | sh
source "$HOME/.cargo/env"

cargo install starship
eval "$(starship init bash)"
Add the next line into ~/.bashrc:
eval "$(starship init bash)"Don't forget to apply.
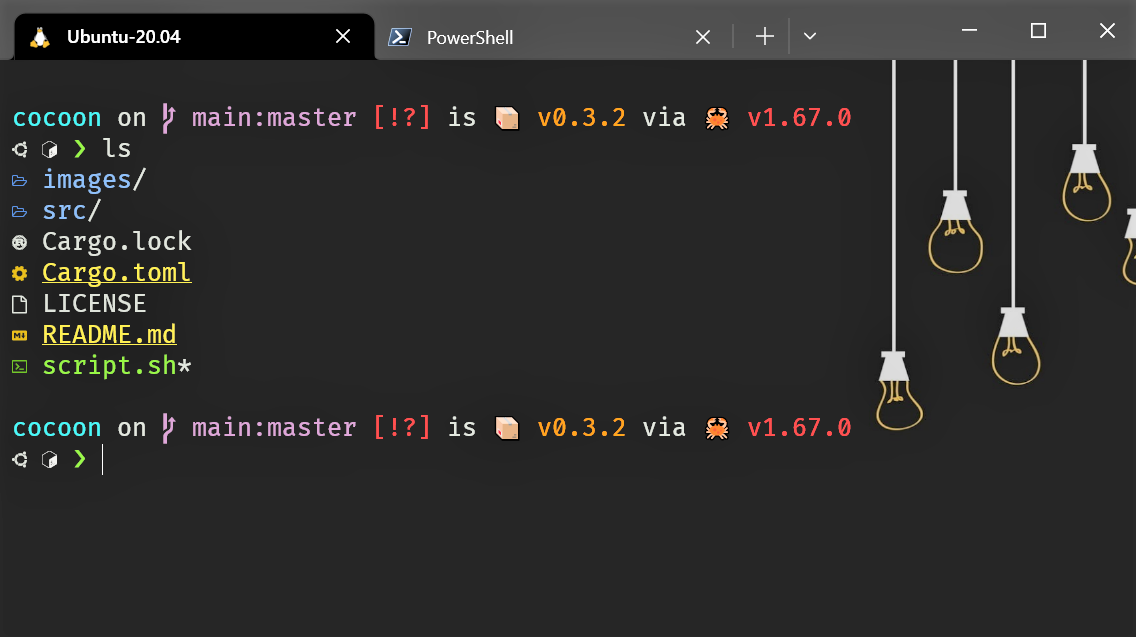
source ~/.bashrcHow the command prompt finally looks:

git repository instead of a long local path (you have to cd into the Git repo directory): cocoon Git repo, main branch, rust v1.67.0, Ubuntu , bash Root User
👮♂️ Additionally, set up starship for the root user.
Change a shell user to be a root user.
sudo su

vi ~/.bashrc
Add the following line into /root/.bashrc (it's literally ~/.bashrc for the root user... and don't forget to change the "<user>" part of the command line below - this is the non-root user you came from).
eval "$(/home/<user>/.cargo/bin/starship init bash)"Run the command above in the command line or apply the config:
source .bashrcHow it finally looks for the root:

SSH
🌎 You can install starship on the remote node within an SSH session.
Just open an SSH session (like ssh alex@dsn-play-alex-01 in my case), and then follow the instructions above (rustup install , cargo install starship, etc.) and you will able to see something as follows after ssh login (command prompt shows you have a remote connection to some host):

starship on different hosts helps to distinguish a remote and a local hosts🔧 Starship bash config
It's about how exactly Starship is going to render the command prompt.
cat ~/.config/starship.toml[shlvl]
disabled = false
threshold = 2
symbol = "\uf07d"
[shell]
disabled = false
bash_indicator = ""
[os]
disabled = false
format = "$symbol "
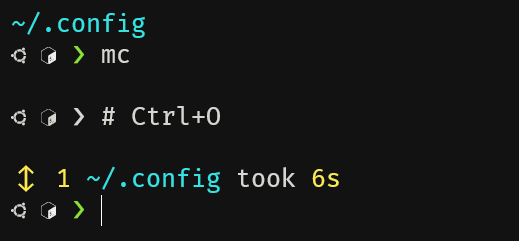
symbols.Ubuntu = ""shlvlconfig makes it show the number of a shell level, e.g. it shows "↕️ 1" when running undermc(Midnight Commander).shellmodule helps identify a shell that is currently in use (bash,fish,pwsh).osmodule shows the operating system.
The last 2 options are needed because I can open a tab with PowerShell, and, with properly configured Starship, it allows me to recognize shells between each other quickly.
PowerShell Installation Notes
You can find instructions here: https://starship.rs/guide/#🚀-installation
The biggest challenge is to find where is the PowerShell config. Mine was here: C:\Users\user\OneDrive\Documents\PowerShell\Microsoft.PowerShell_profile.ps1.
Here is its content:
# Starship
Invoke-Expression (&starship init powershell)
Meanwhile, the Starship config is here: $HOME/.config/starship.toml.
🔧 Starship PowerShell pwsh config
cat ~\.config\starship.toml[shell]
disabled = false
powershell_indicator = ""
cmd_indicator = ""
[os]
disabled = false
format = "$symbol "
symbols.Windows = ""How It Looks in Tabs
In the following example, I can quickly distinguish OS and shells via nice glyphs: .

Tab #1 can be a WSL2 Ubuntu/Linux bash terminal:
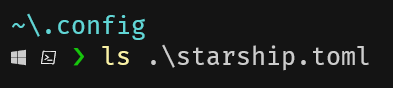
, bash , shell level 1 under mc, path ~/.config Tab #2 can be a PowerShell pwsh terminal:
, PowerShell , path ~\.config🦀 =exa=
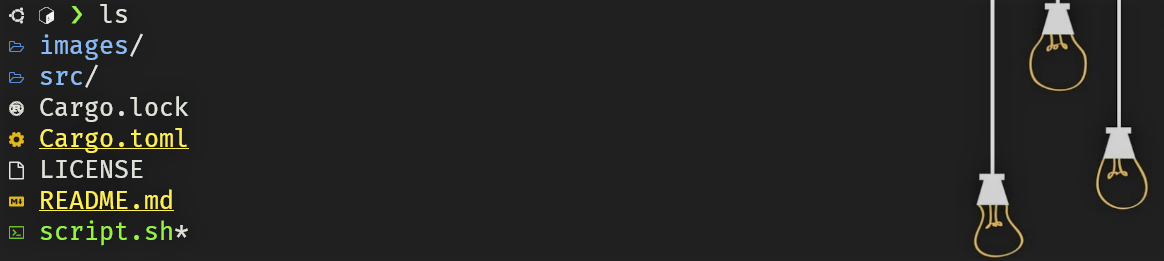
exa is a modern replacement for ls written in Rust.
How to install:
sudo apt install exaModify ~/.bashrc config. If the ls alias is already defined there, then substitute it with the following line:
alias ls='exa --icons -F -H --group-directories-first --git -1'--iconsshows the icons (I want a fancy look!)-Ftype indicators-Hhard links--group-directories-firstlist directories before other files--gitlist each file's Git status-1show a table listing, 1 entry by line
And ll is usually already defined like this:
alias ll='ls -alF'📺 Windows Terminal
Finally, a proper setup of the Windows Terminal is needed to fully enable starship and exa showing fancy fonts (e.g. "nerd" glyphs , ) on a custom background (💡) with support of different terminal environments (e.g. bash, pwsh).
-
Install the Windows Terminal from the Microsoft Store: https://apps.microsoft.com/store/detail/windows-terminal/9N0DX20HK701
-
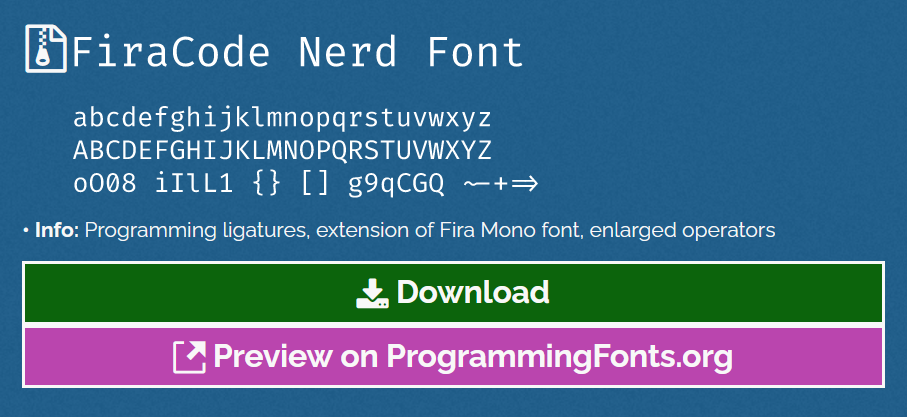
Install Nerd Fonts. Download a "FiraCode Nerd Font": https://github.com/ryanoasis/nerd-fonts/releases/download/v2.3.3/FiraCode.zip
Find the
Fira Code Retina Nerd Font Complete Mono Windows Compatible.ttfinside of the archive and install it (double click).💡 You can find more nerd fonts at nerdfonts.com.
-
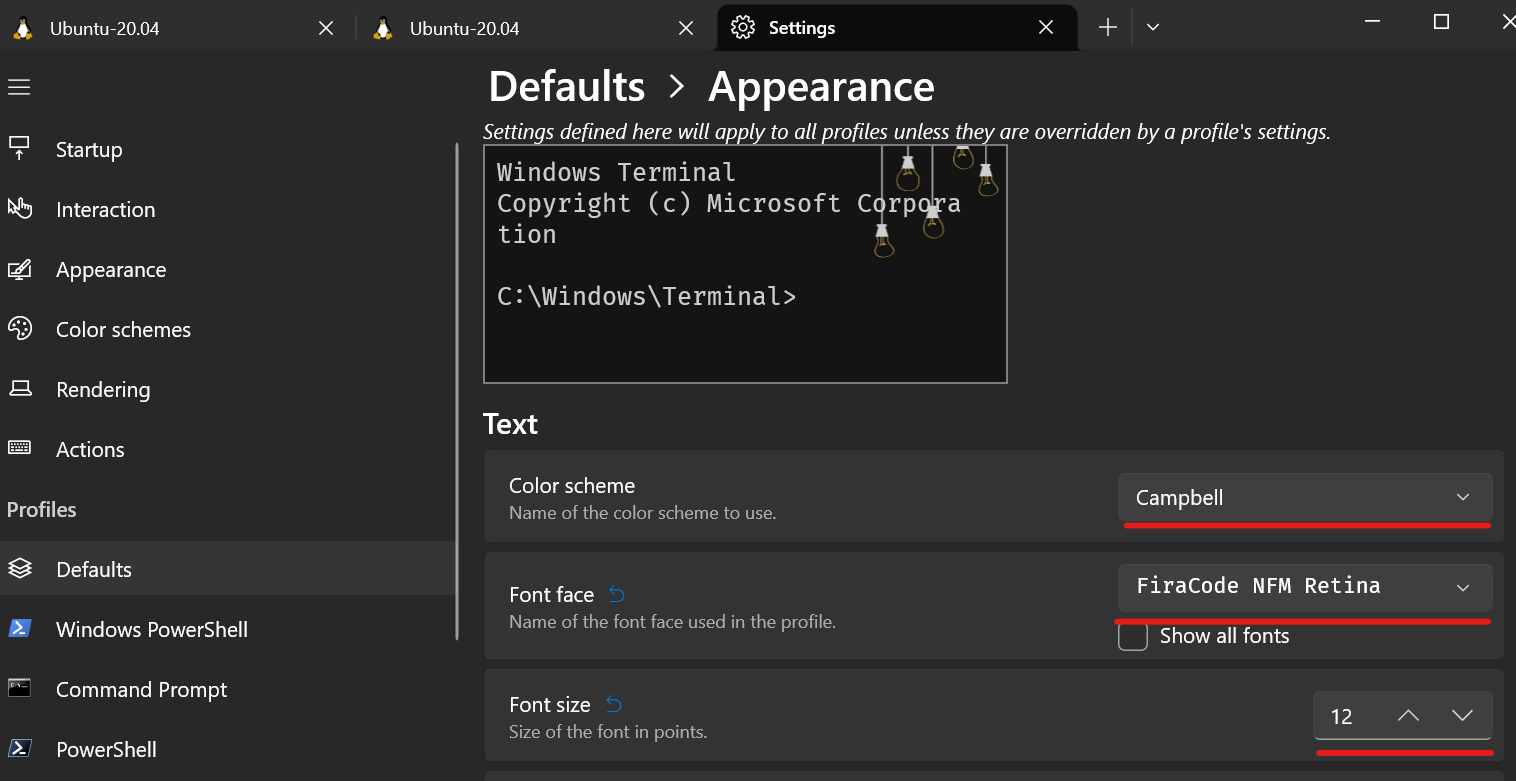
Set the Campbell color theme and FiraCode NFR Retina font, installed in the previous step:
-
Download my bulbs background (Right Click -> Save Image As...):

And set it in the Windows Terminal:
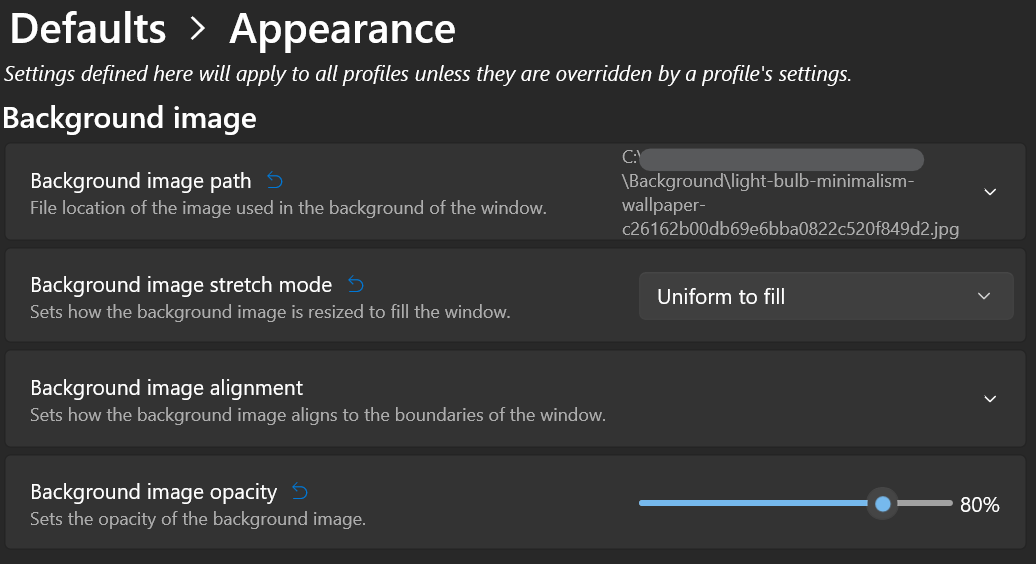
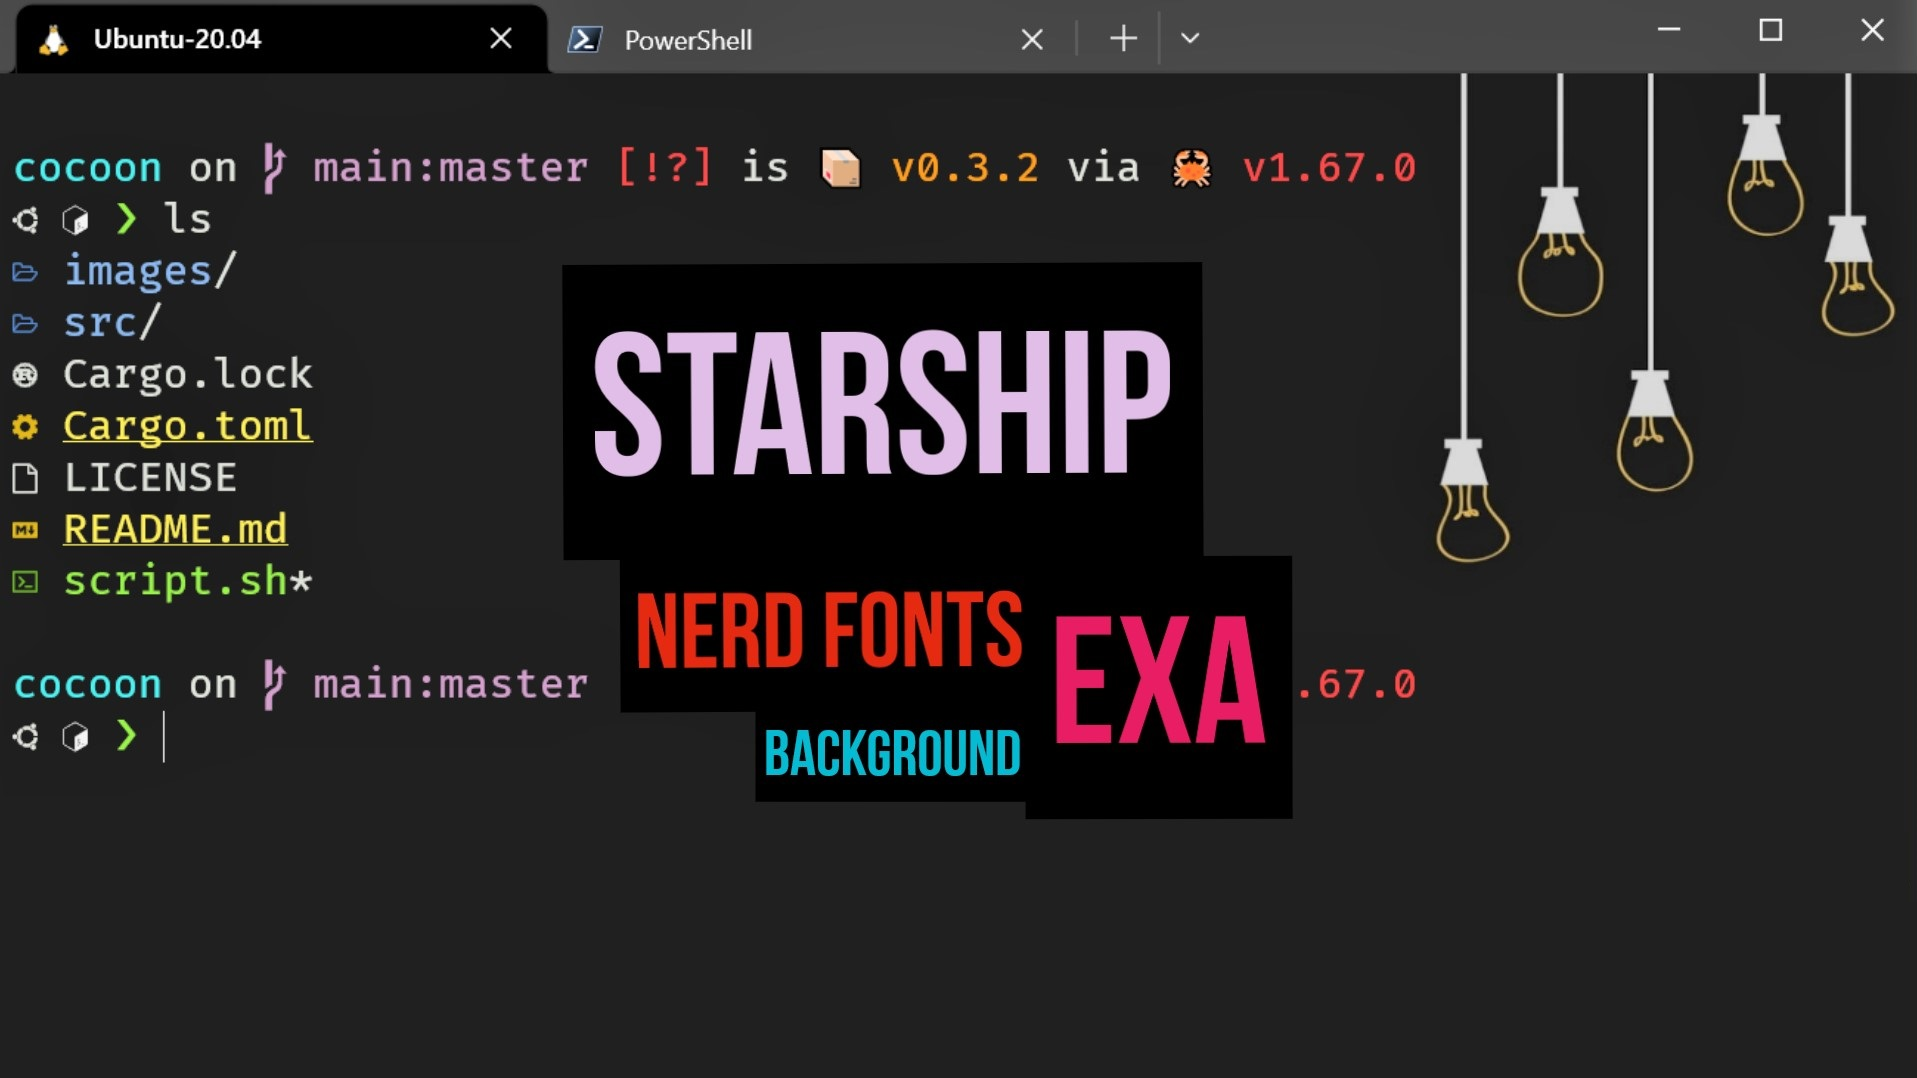
Voila!
My final setup is shown in the initial screenshot at the beginning of the article:
Visual Studio Code
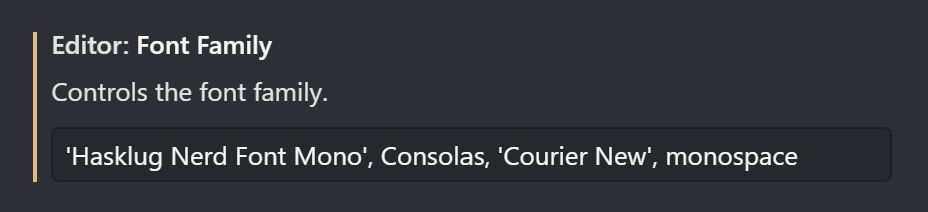
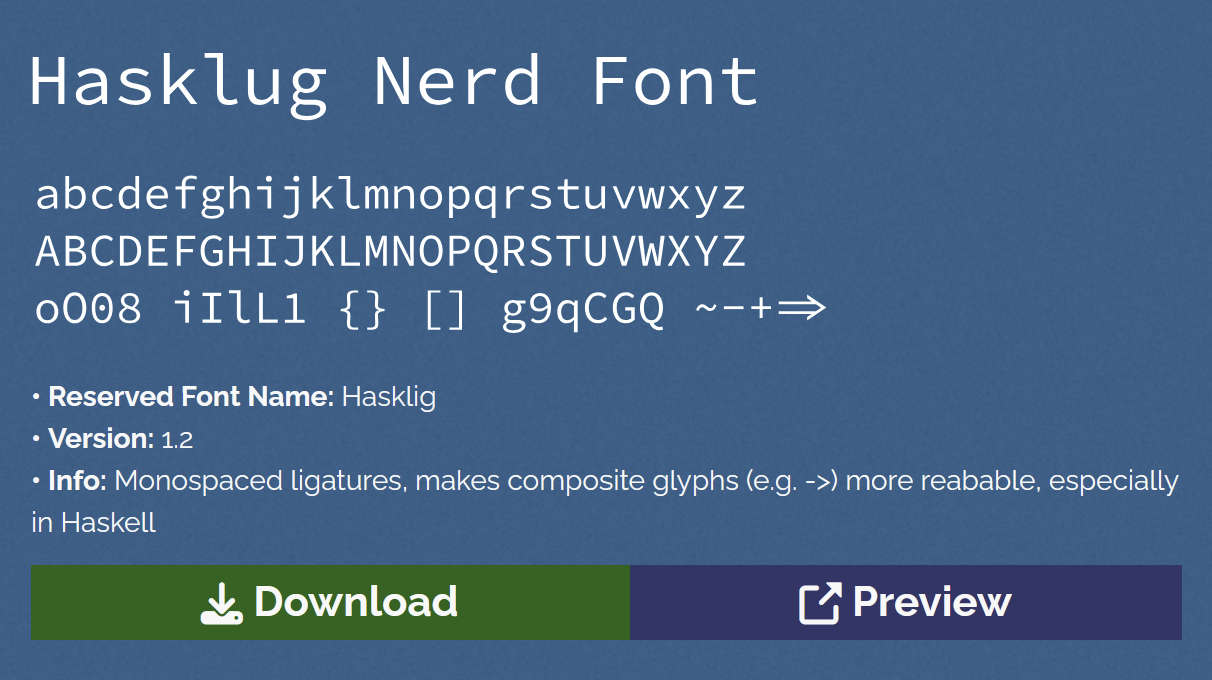
For the VSCode the mentioned nerd fonts look pretty bold, so I use another nerd font: Hasklug.
- Download it from the nerdfonts.com.
- Find a
HasklugNerdFontMono-Light.otfinside.
Go to code's Settings > Editor: Font Family and add 'Hasklug Nerd Font Mono'.